

star 6.83


file_download Download mirrors
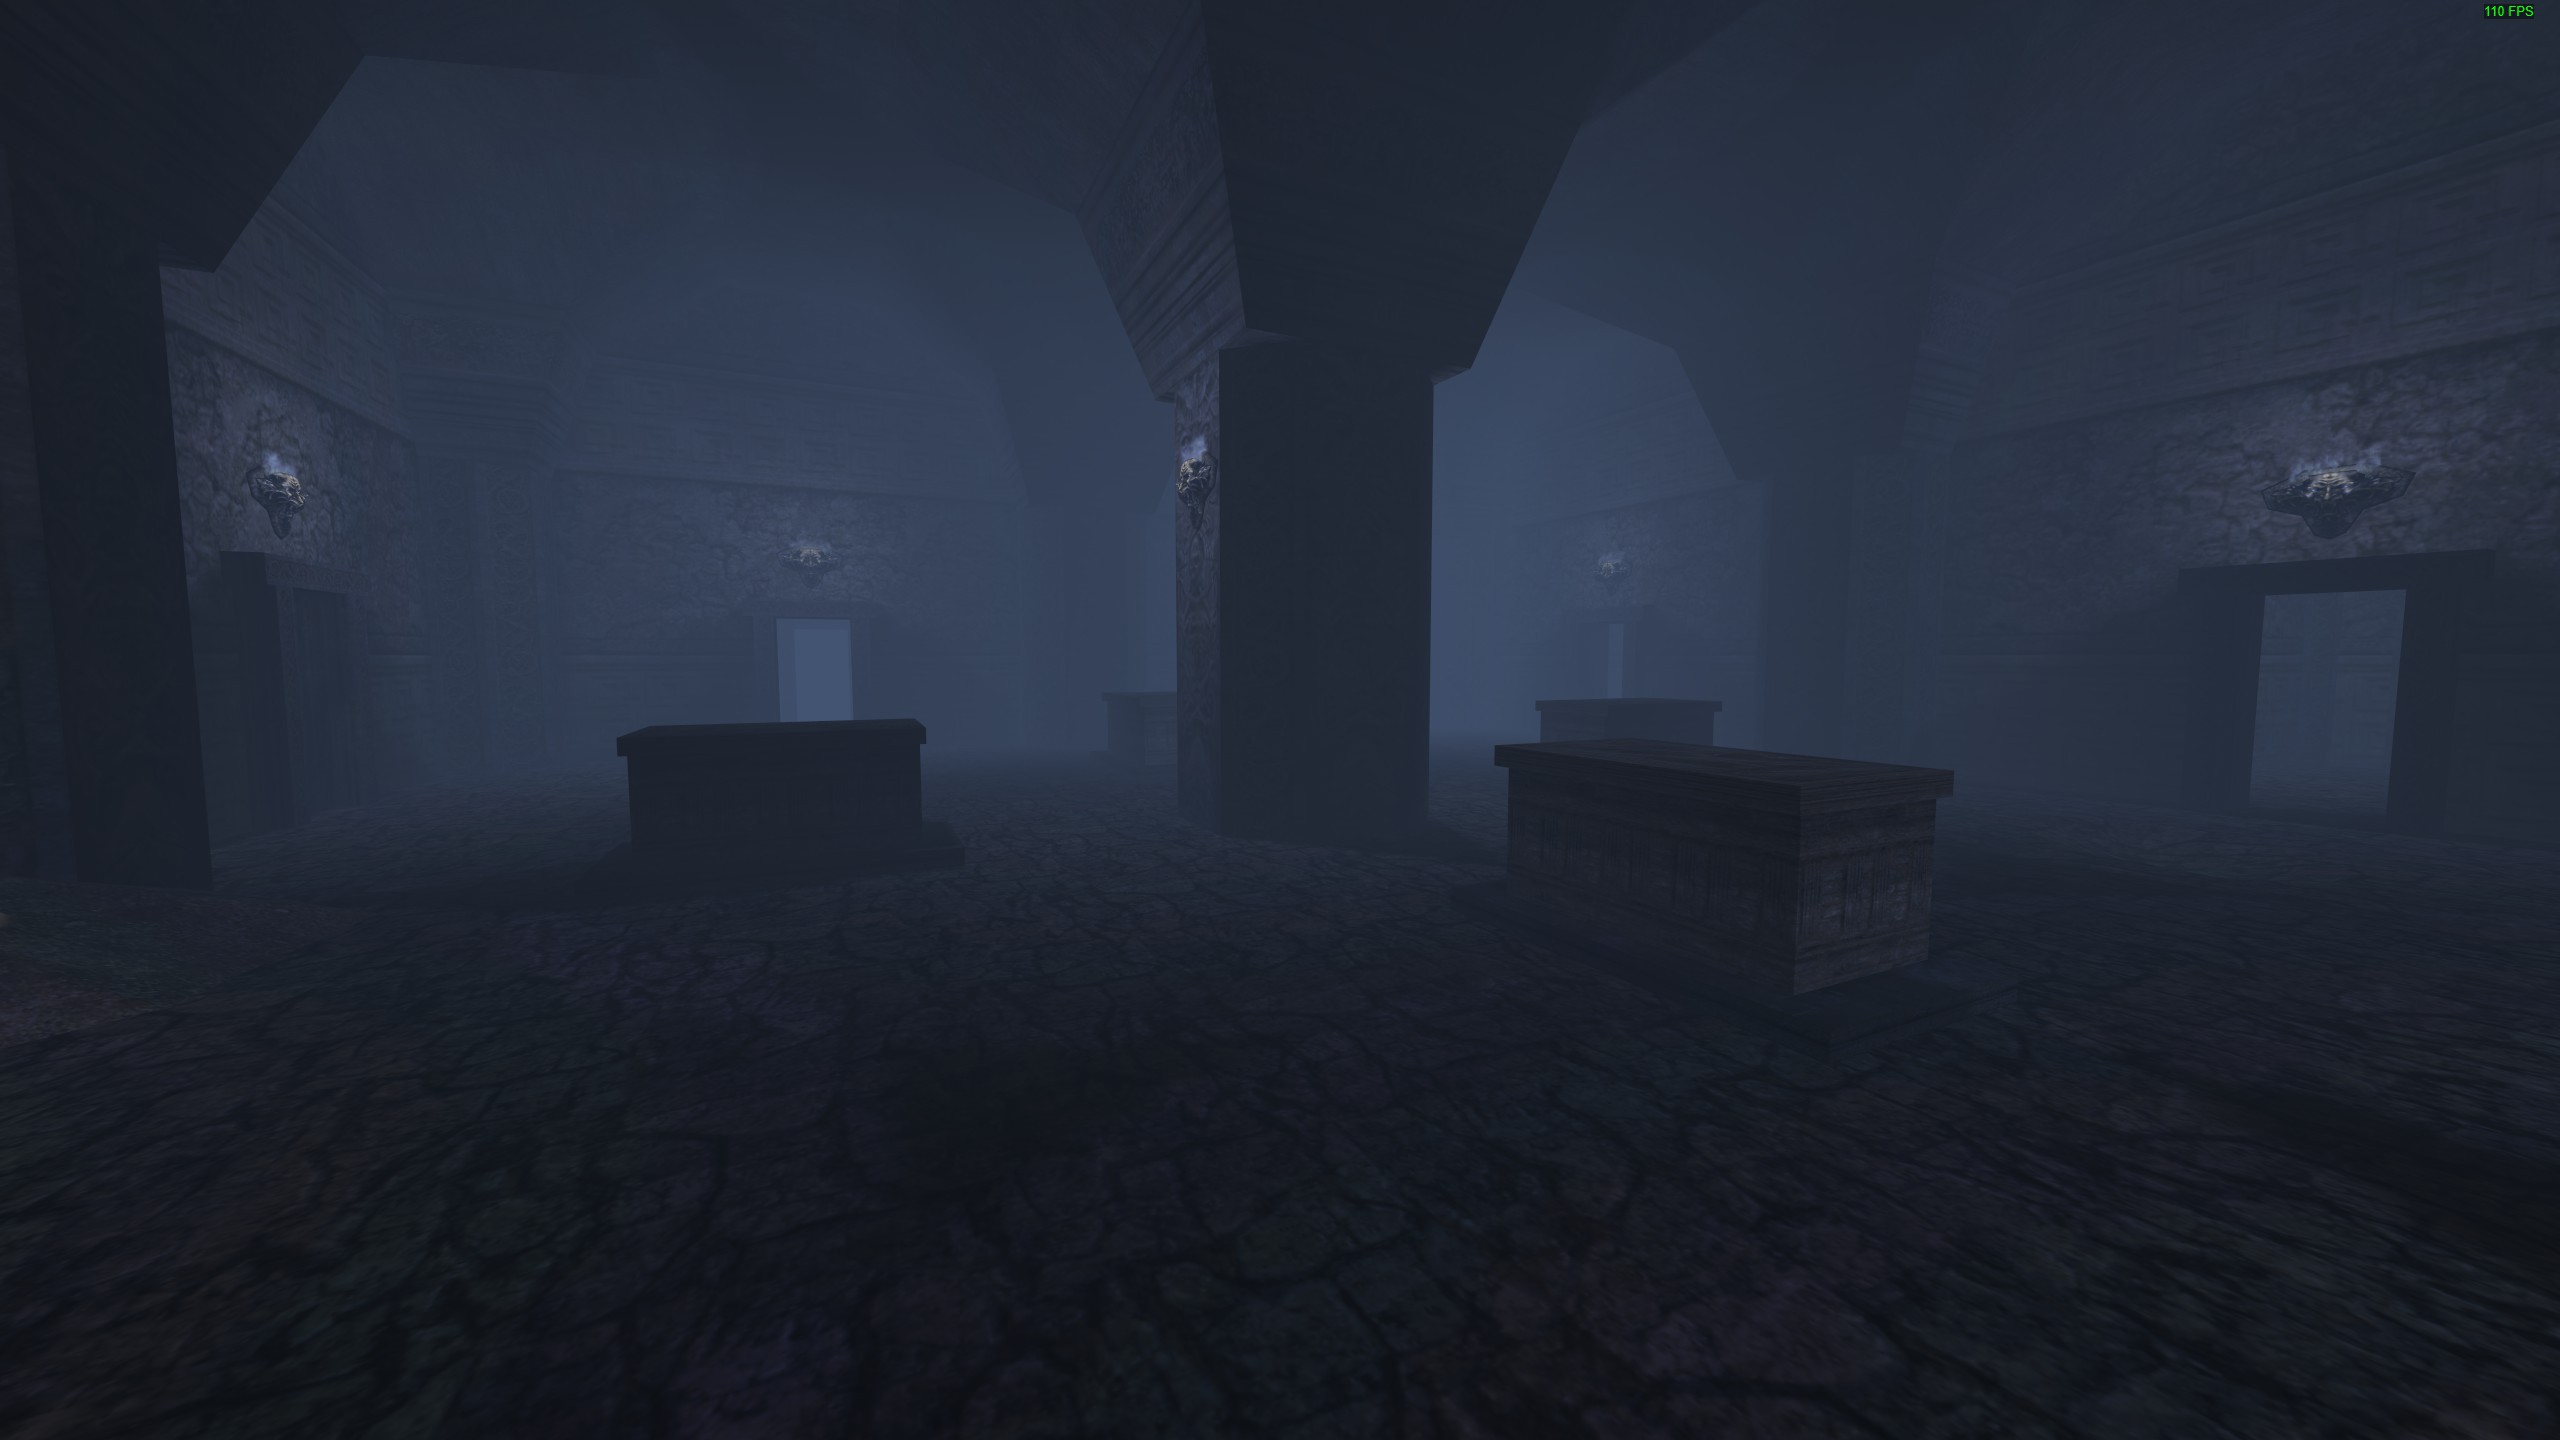
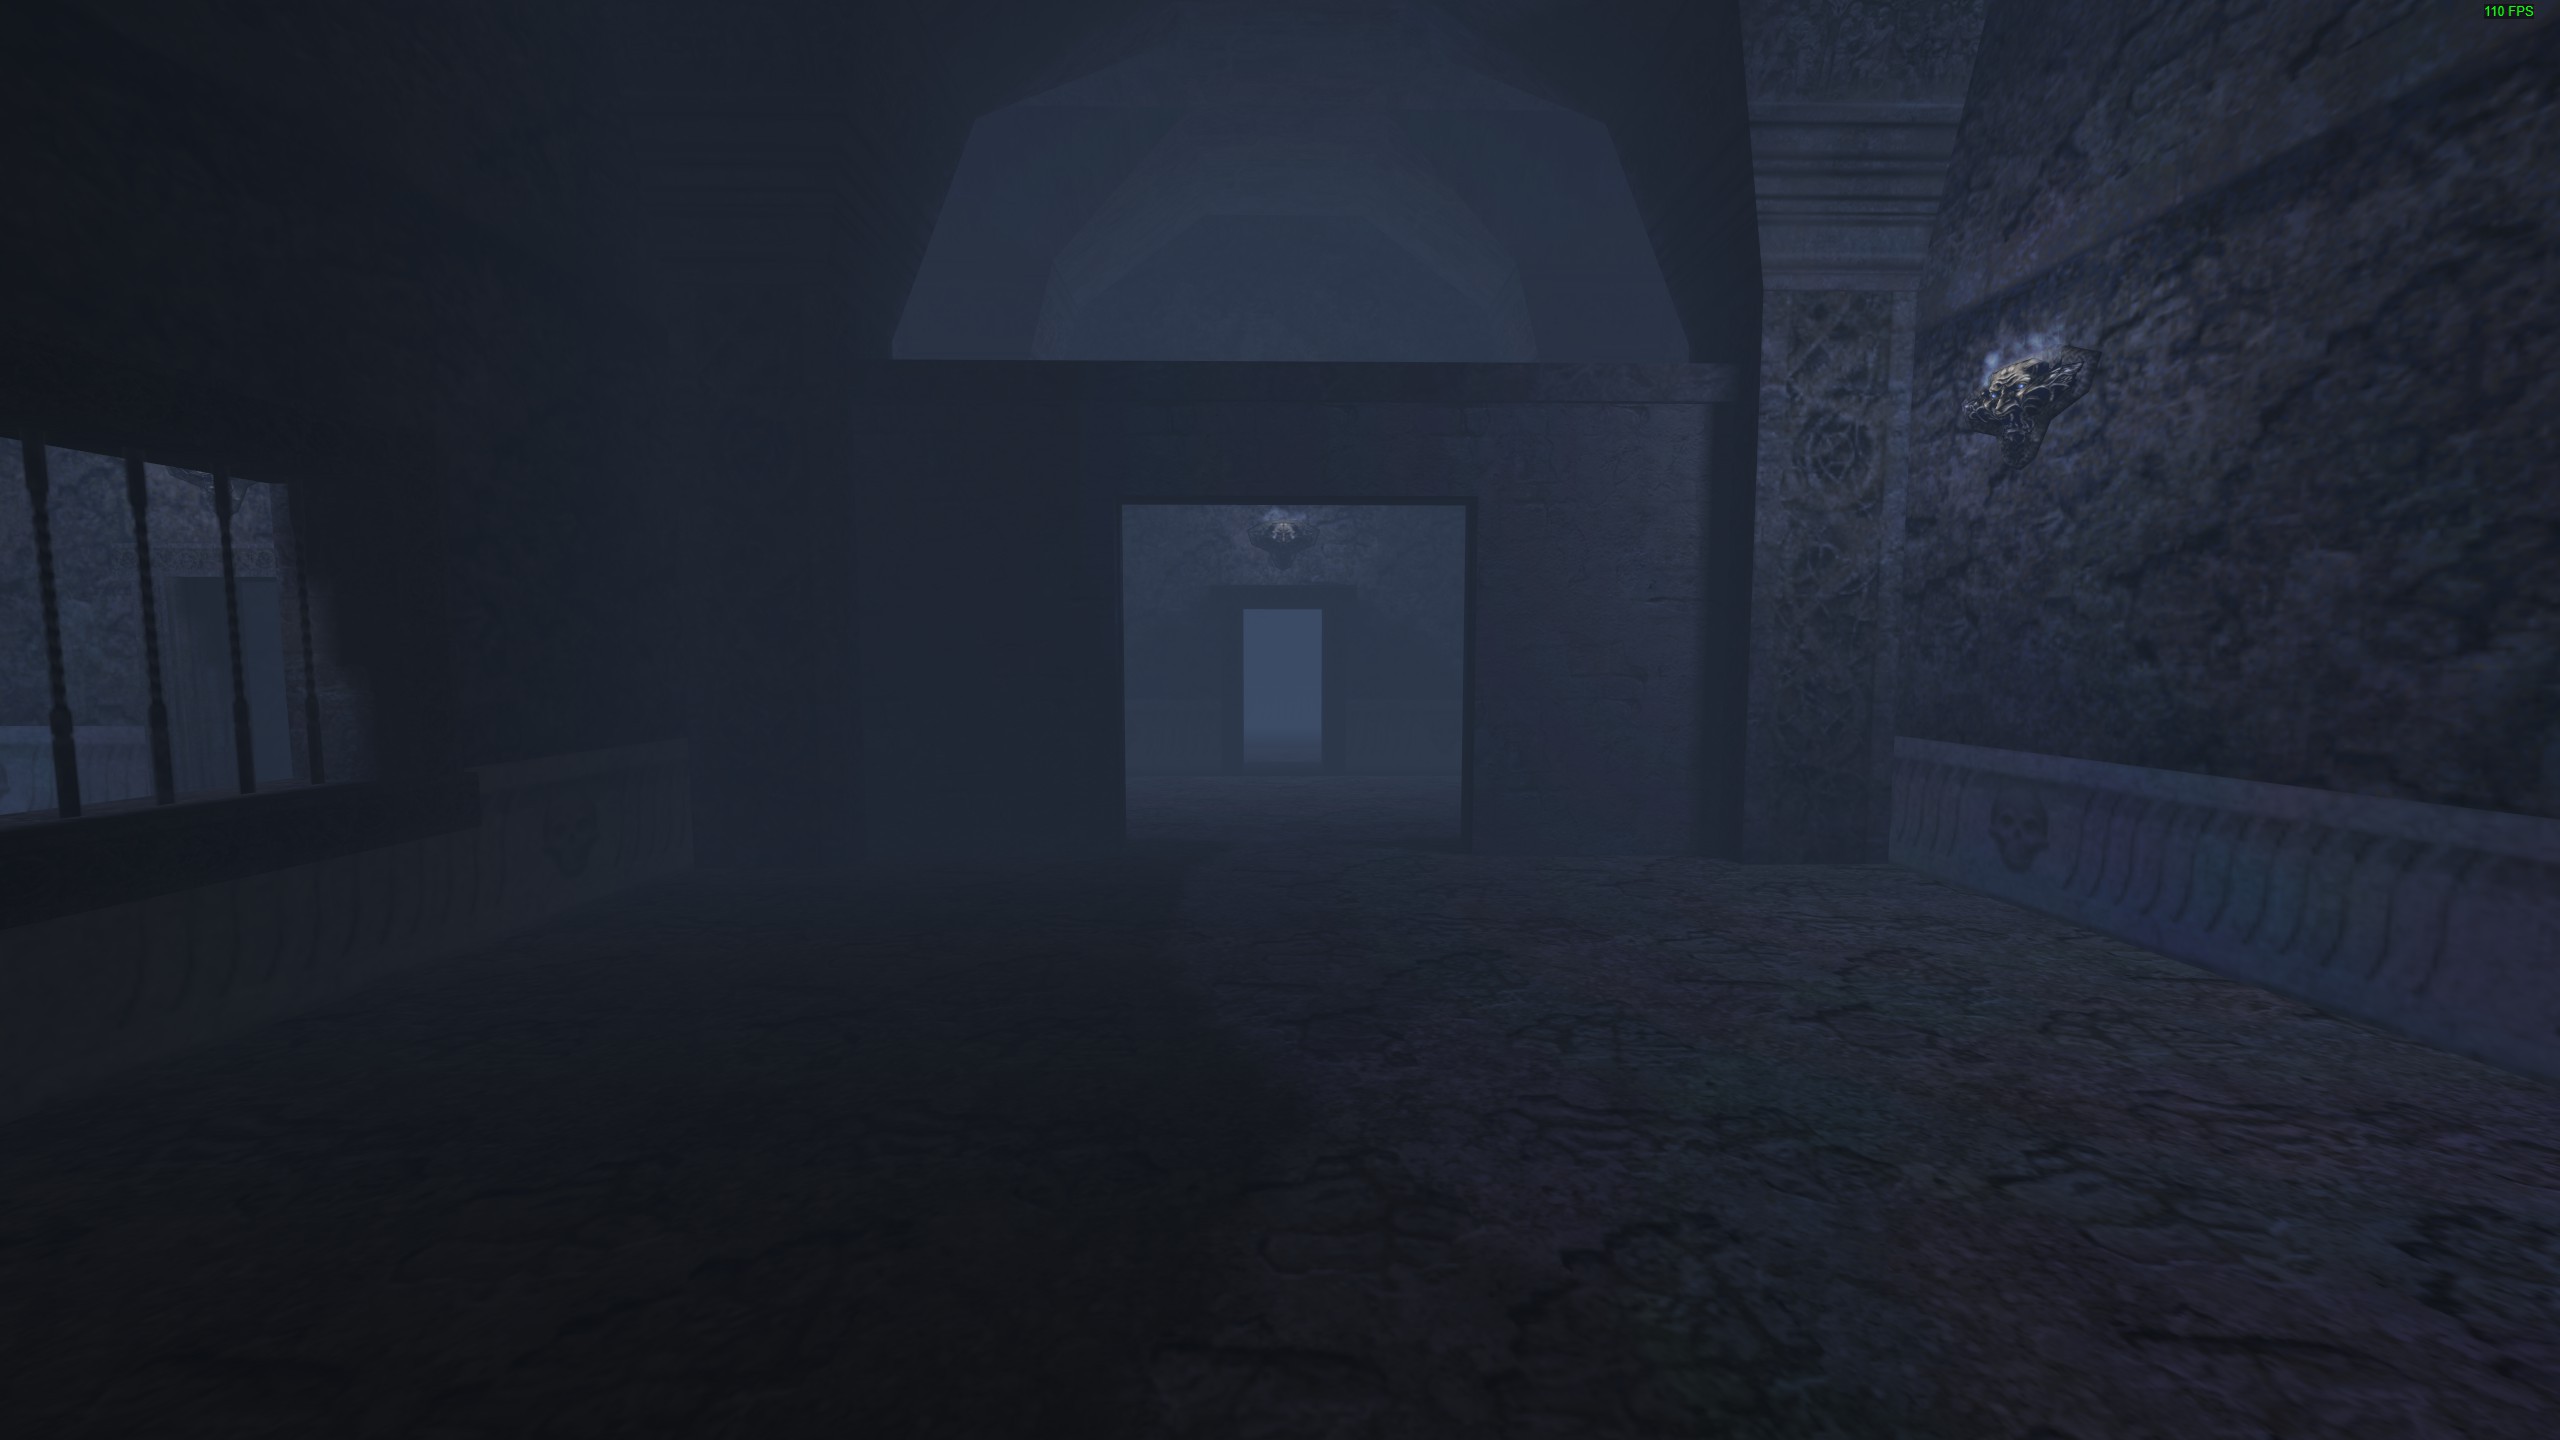
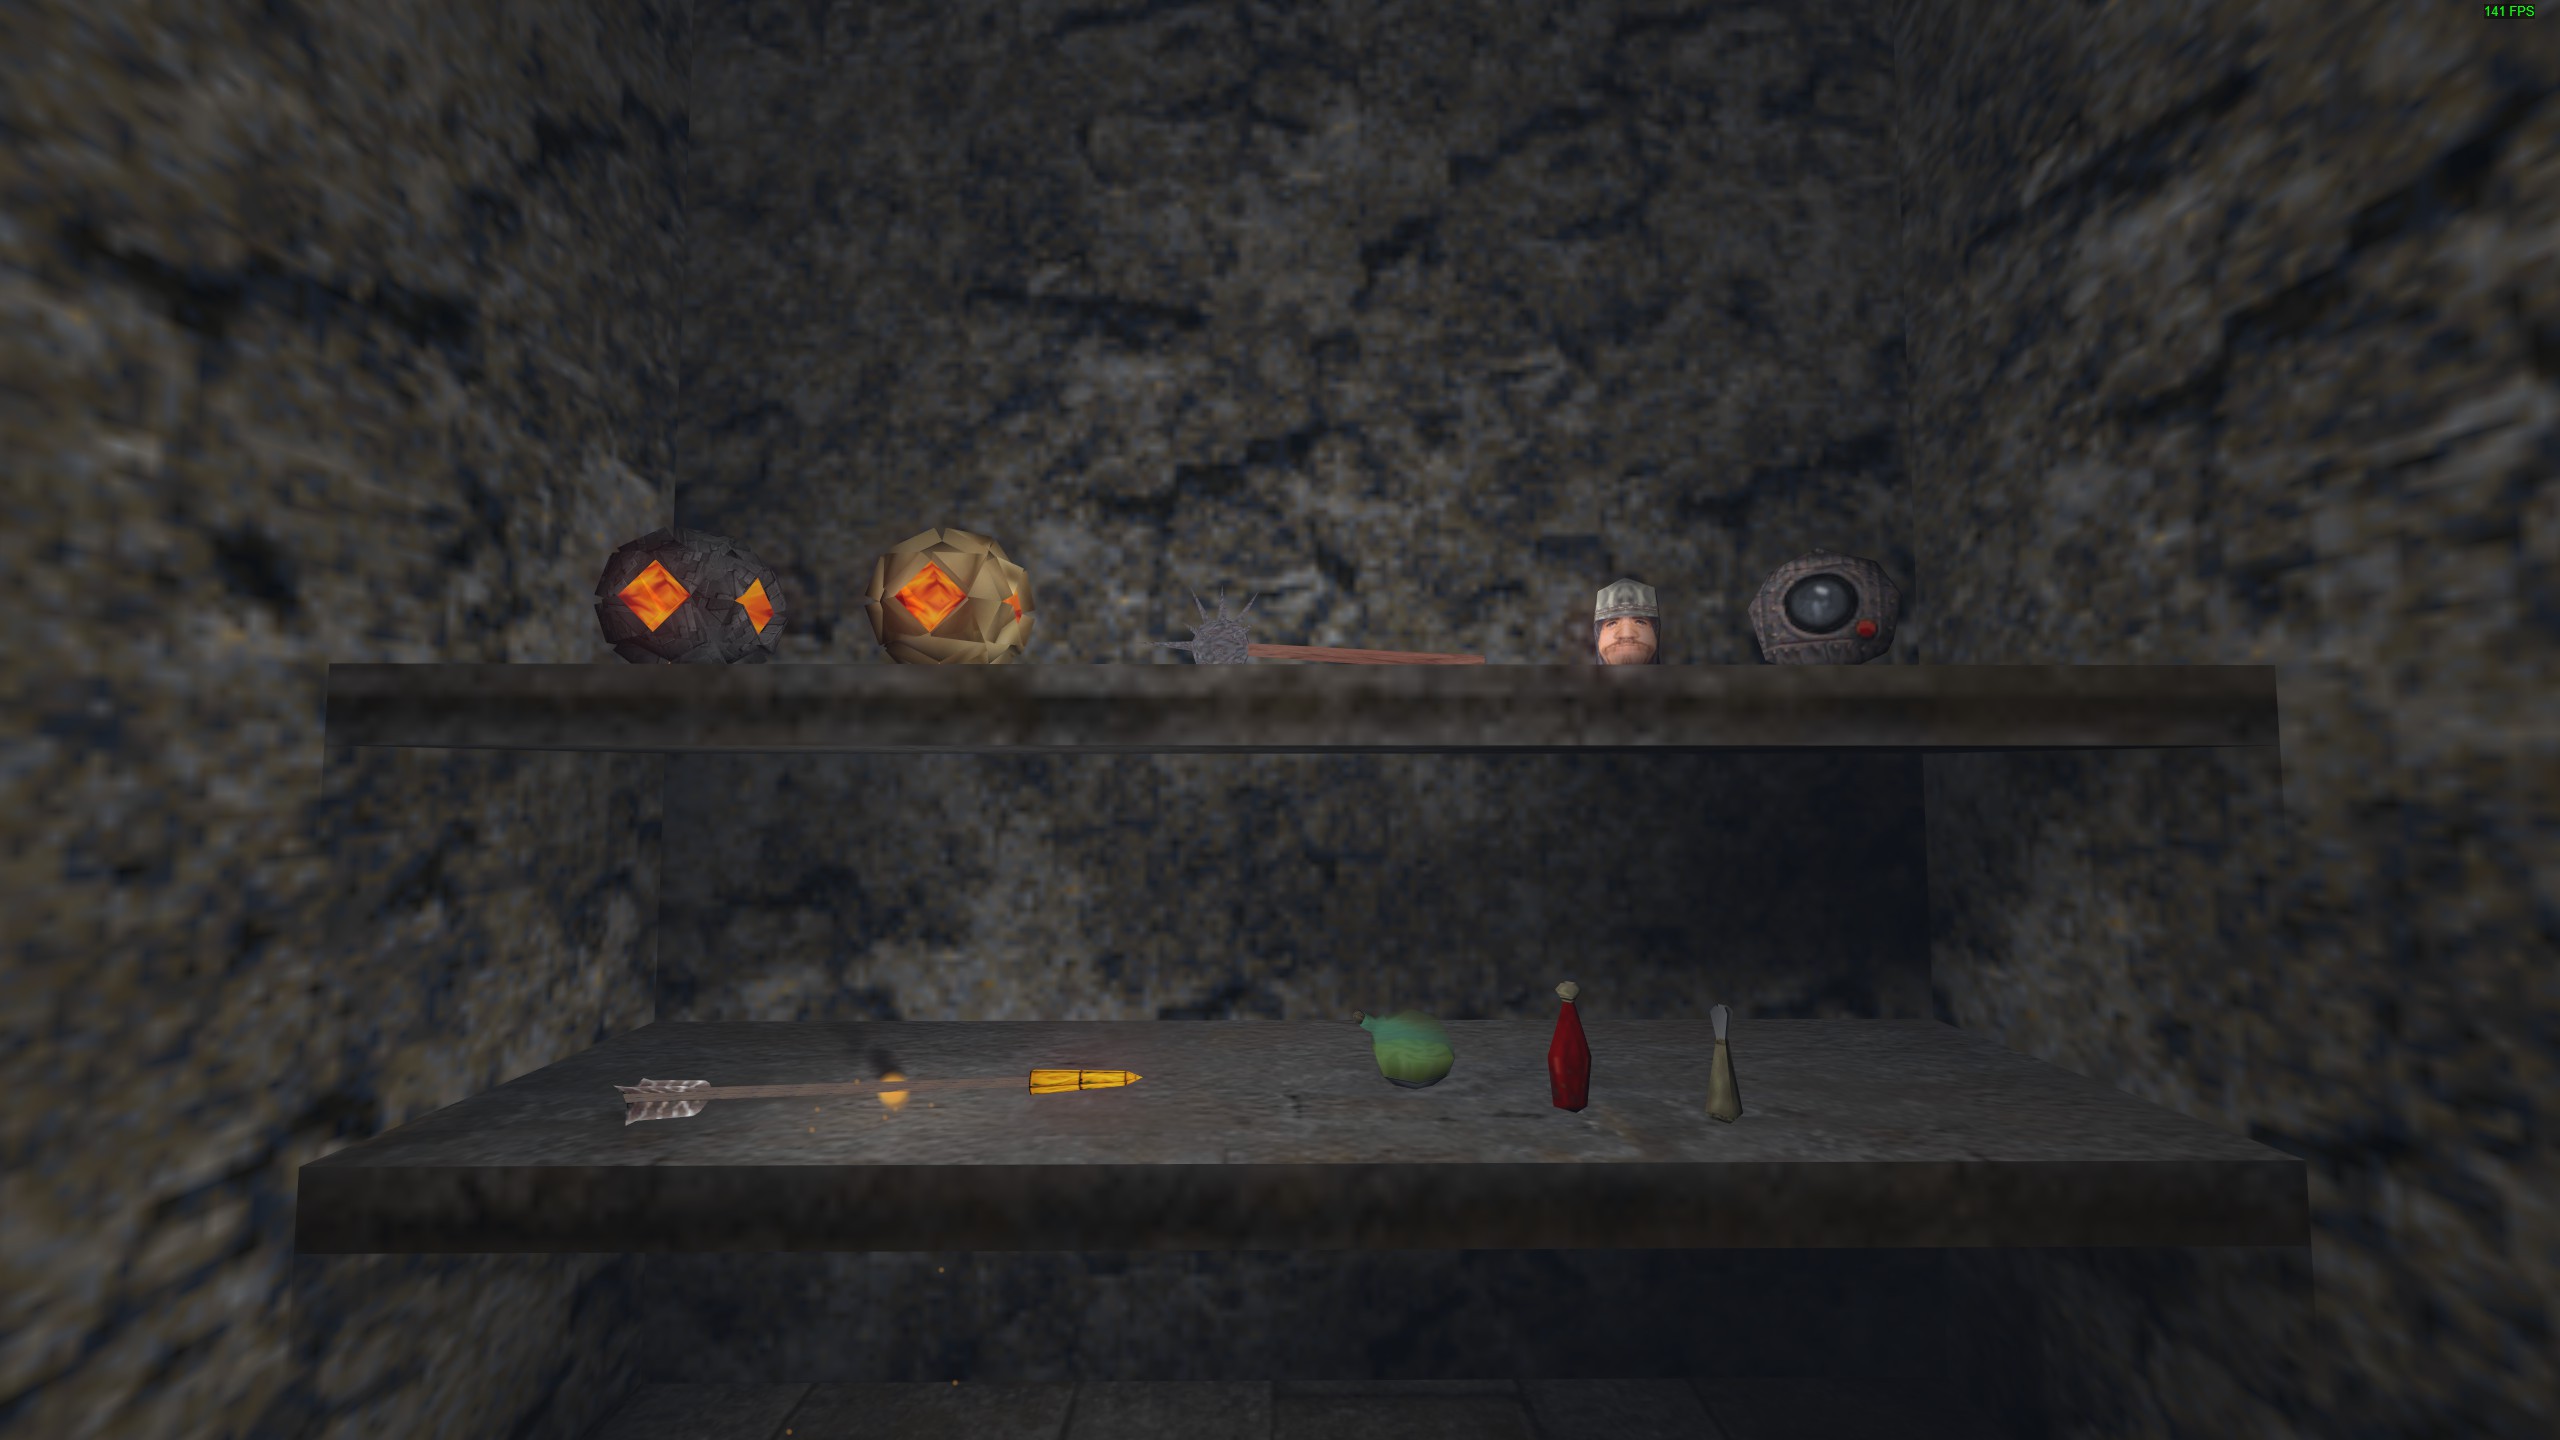
 Thief II: The Metal Age
